No products in the cart.
Return To Shop.png?sharp=1)
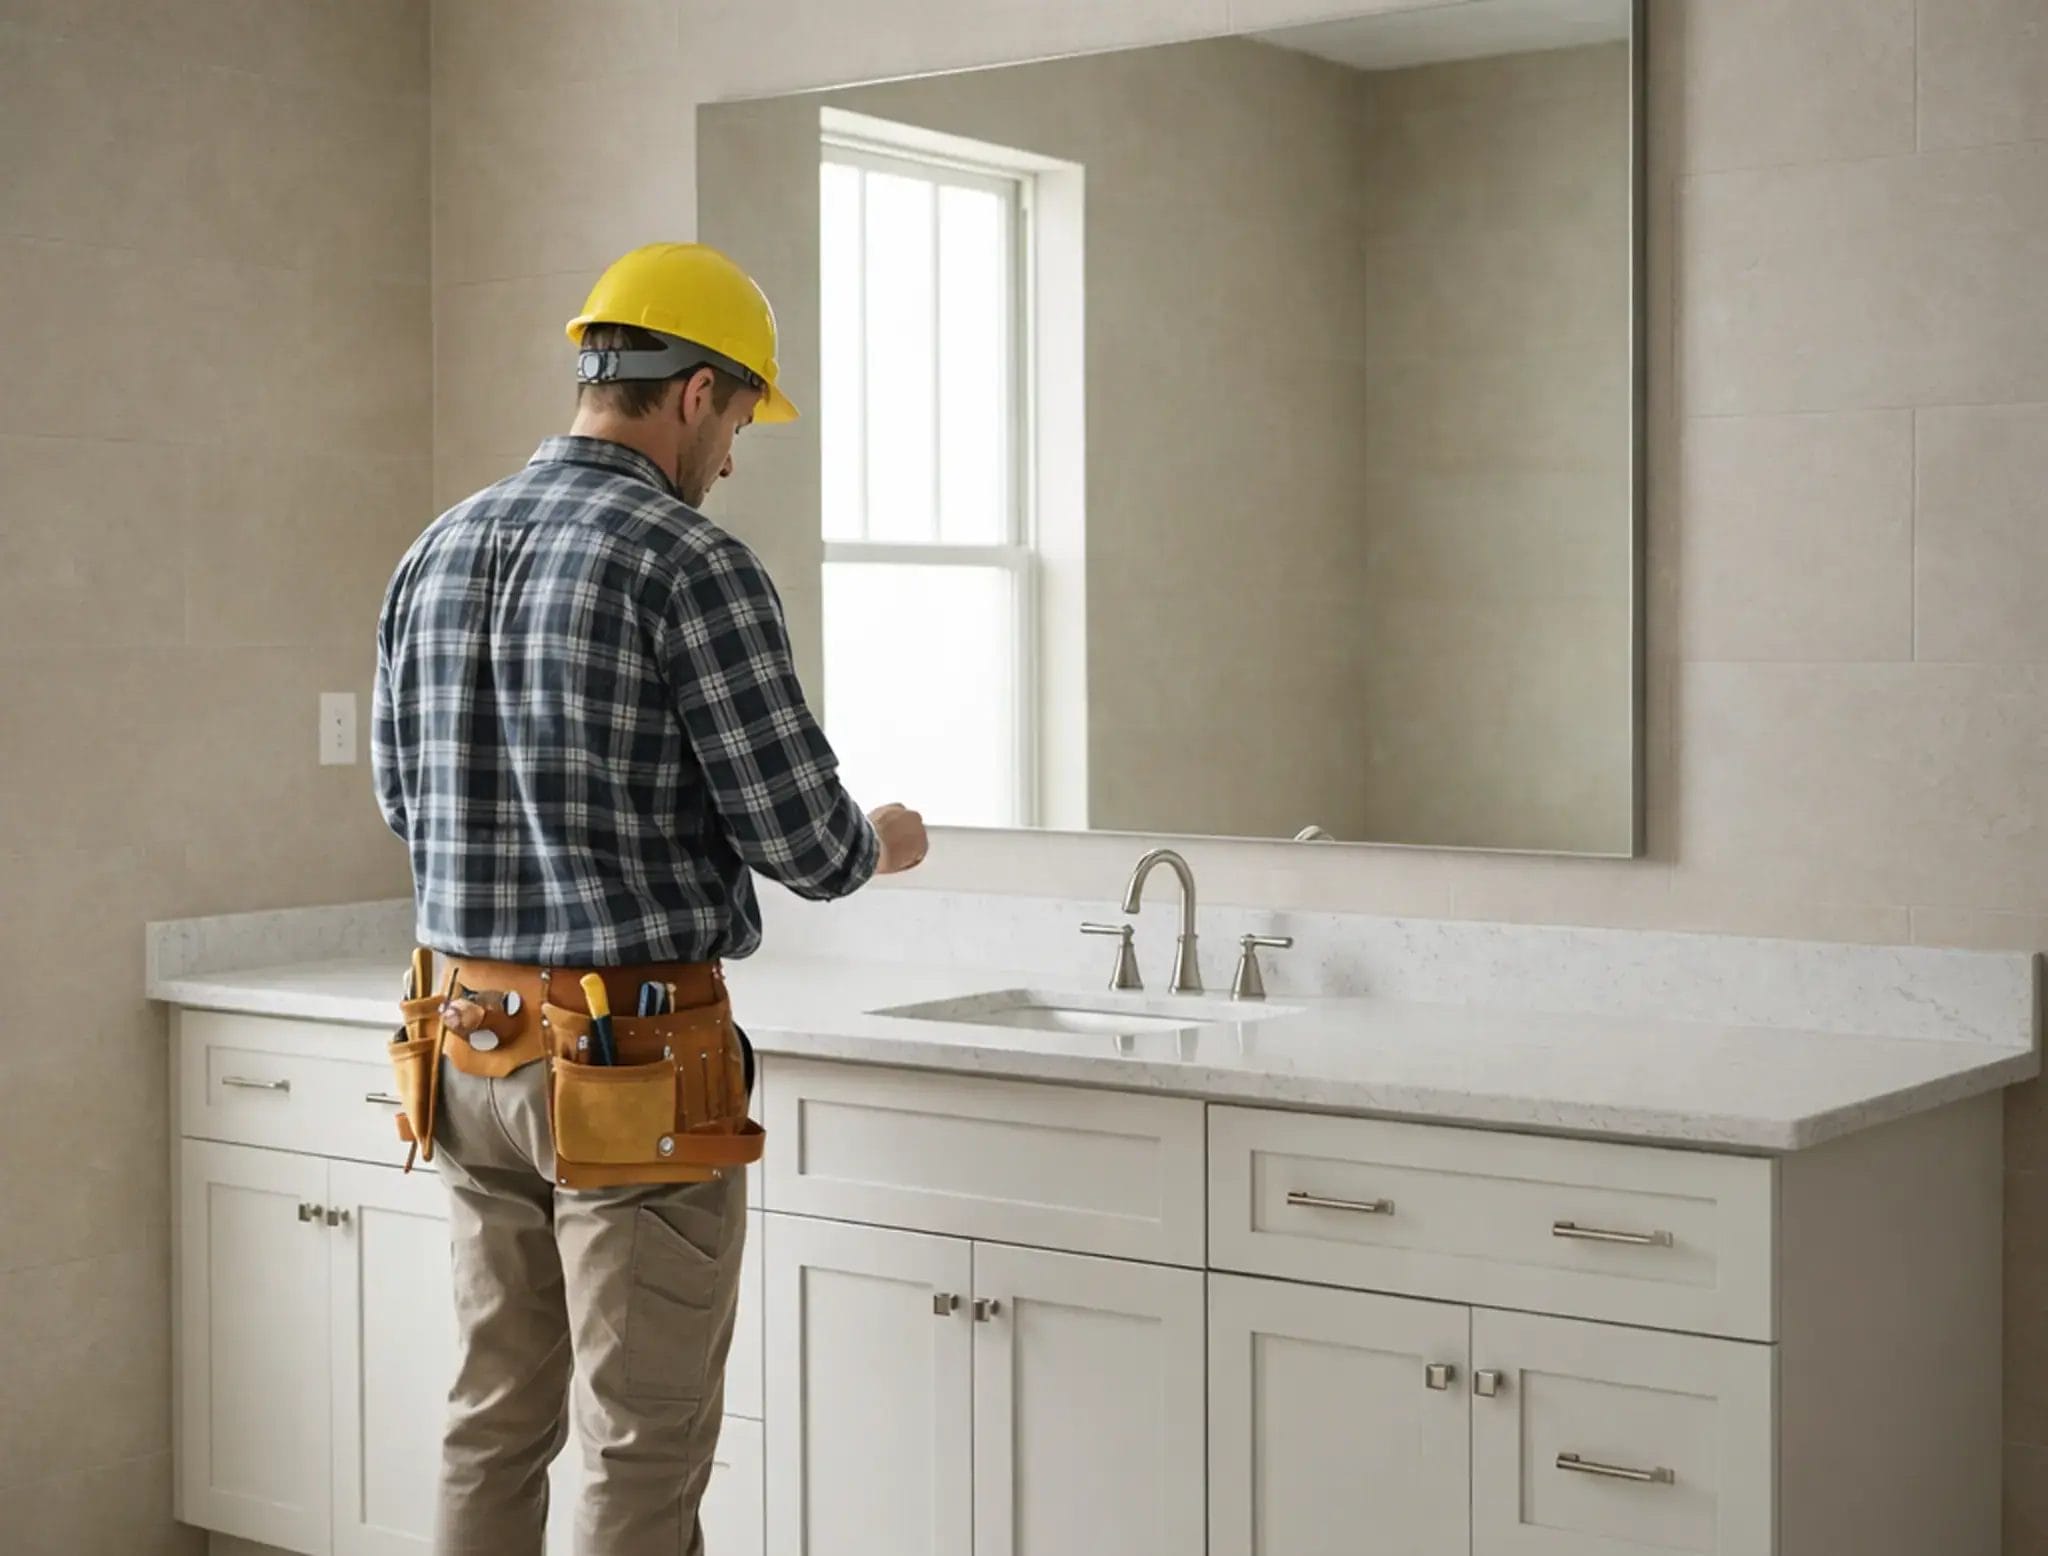


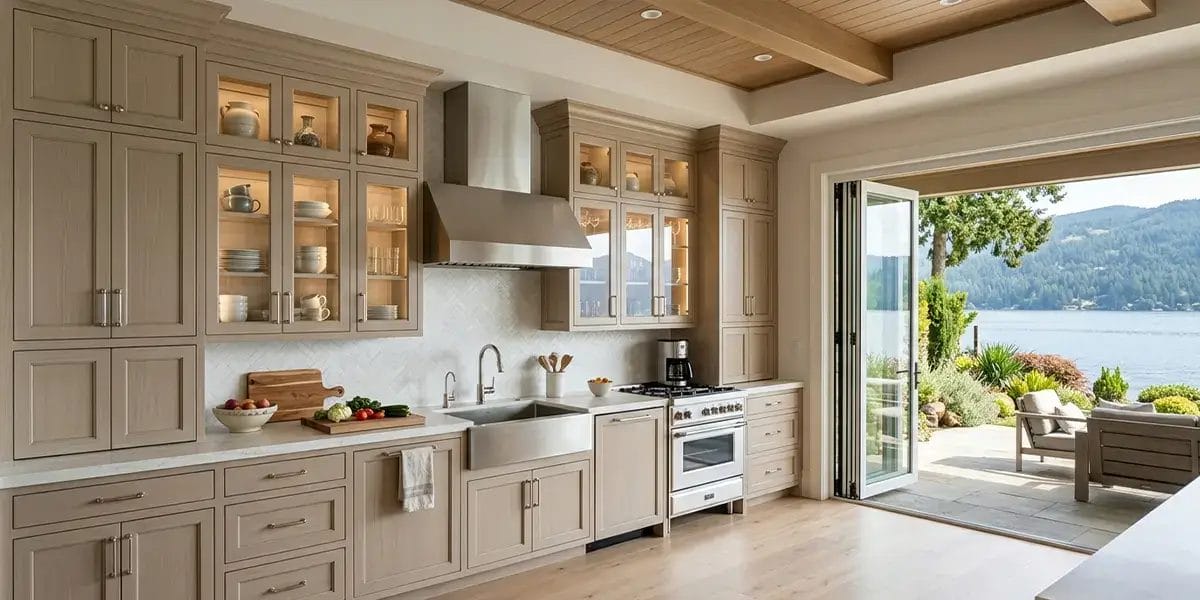
How to Install Wall Cabinets: Step-by-Step Hanging Guide
Installing wall cabinets requires more than simply lifting the cabinet into position and driving in a few screws. The cabinets need to be properly located, leveled, supported, and securely fastened to the wall structure so they stay aligned and can safely support everyday kitchen storage.
For most kitchen wall cabinet installations, the process starts by locating the wall studs, marking the cabinet layout, and establishing a level reference line. A temporary ledger board can help support the cabinet while it is positioned and fastened. Once the first cabinet is level and secure, additional cabinets can be aligned and connected to create a straight, even installation.
This guide walks you through how to install wall cabinets step by step, including preparation, stud location, cabinet height, temporary support, fastening, leveling, connecting adjacent cabinets, and final door adjustments.
Table of Contents
1. Before You Start: Tools and Preparation
Before hanging wall cabinets, prepare the tools, hardware, and work area so you do not have to stop midway through the installation.
Tools You May Need
For a typical wall cabinet installation, prepare:
- Tape measure
- Pencil
- Level or laser level
- Stud finder
- Drill/driver
- Appropriate drill bits
- Clamps
- Screwdriver
- Shims
- Temporary ledger board
- Cabinet installation screws or manufacturer-recommended fasteners
- Step ladder
- Safety glasses
The exact fasteners you need depend on the cabinet construction and the wall structure. Kitchen wall cabinets should be securely fastened to structural support, such as wall studs or suitable blocking, rather than relying on ordinary drywall alone.
Inspect the Wall and Cabinets
Before installation, check that:
- The wall is structurally sound.
- You know where the wall studs are located.
- Electrical or plumbing lines will not interfere with drilling.
- Cabinet dimensions match the planned layout.
- Doors, shelves, and hardware arrived without damage.
- The floor and countertop layout have been confirmed.
Before installation, double-check your cabinet dimensions and layout using our kitchen cabinet size guide.
If you are installing several wall cabinets, unpack them and confirm their order before lifting the first cabinet into place.
Remove Doors and Shelves When Helpful
Wall cabinets can be heavy and difficult to position accurately. Removing adjustable shelves and, when practical, cabinet doors can reduce the weight and make the cabinet easier to lift and level.
Keep hinges, screws, and hardware organized so each part can be reinstalled in its original position.
For larger or heavier cabinets, have a second person assist with lifting and positioning rather than trying to hold the cabinet and fasten it at the same time.
2. Find the Wall Studs and Mark the Cabinet Layout
Before lifting a wall cabinet into place, locate the structural support behind the wall and mark the planned cabinet position clearly.
Locate and Mark the Wall Studs
Use a stud finder to locate the wall studs behind the drywall. Mark the center of each stud with a pencil, then verify the locations before drilling.
Extend the stud marks slightly above or below the planned cabinet area so they remain visible after the cabinet is lifted into position.
Kitchen wall cabinets should be secured using the appropriate installation method for the wall structure and cabinet construction. For a typical wood-framed wall, this usually means fastening the cabinet securely into wall studs or suitable structural blocking.
Do not rely on ordinary drywall alone to support a loaded kitchen wall cabinet.
Before drilling, make sure there are no electrical wires, plumbing lines, or other hidden utilities in the fastening area.

Mark the Cabinet Layout on the Wall
Use your kitchen plan and cabinet dimensions to mark where each wall cabinet will begin and end.
Mark:
- The left and right edges of each cabinet
- Stud locations
- Cabinet centerlines when needed
- Appliance or range hood locations
- Windows, doors, and other obstacles
- The planned bottom and top cabinet reference lines
If several wall cabinets will be installed in one run, mark the entire layout before installing the first cabinet. This makes it easier to identify spacing problems before the cabinets are attached to the wall.
If you have not confirmed the room dimensions and cabinet layout yet, review our guide on how to measure your kitchen for cabinets before beginning installation.
Check the Layout Before Drilling
Compare the wall markings with your cabinet order and kitchen plan one more time.
Make sure:
- The cabinet sequence is correct.
- Cabinets will not interfere with windows or door trim.
- Appliance openings match the planned dimensions.
- Each cabinet has suitable structural fastening points.
- Adjacent cabinets will fit within the available wall space.
Correcting a layout mistake at this stage is much easier than removing a cabinet after it has already been installed.
3. Determine the Correct Wall Cabinet Height
Before installing the ledger board or lifting the cabinets, establish a level reference line for the bottom of the wall cabinets.
Start With the Finished Countertop Height
In many standard kitchen layouts, the finished countertop is approximately 36 inches above the floor. Wall cabinets are commonly installed about 18 inches above the countertop, placing the bottom of the wall cabinet around 54 inches above the finished floor.
However, these dimensions should be treated as a planning reference rather than a rule for every kitchen.
The correct wall cabinet height may change based on:
- Countertop thickness
- Base cabinet height
- Ceiling height
- Wall cabinet height
- Backsplash design
- Range hood or microwave requirements
- Tall cabinets and pantry cabinets
- Window or architectural conditions

Mark a Level Cabinet Reference Line
Once the correct height has been confirmed, use a laser level or long spirit level to mark a horizontal line across the wall.
This line represents the planned bottom edge of the wall cabinets and will also help position the temporary ledger board in the next step.
Check the line in several locations before installation. Floors and ceilings are not always perfectly level, so avoid measuring the cabinet height independently from the floor at every cabinet location.
Check Appliance Clearances Before Installation
Cabinets above a range, cooktop, refrigerator, or built-in appliance may require different heights from the rest of the wall cabinets.
Always confirm the appliance manufacturer’s required clearances before setting the final cabinet position.
Do not assume that the standard 18-inch countertop-to-wall-cabinet spacing applies above cooking appliances.
Confirm the Full Cabinet Run
Before drilling or installing the temporary support, check that the reference line works with:
- Adjacent tall cabinets
- Refrigerator cabinets
- Range hood or microwave cabinets
- Window trim
- Ceiling height
- Crown molding or other cabinet trim, if used
A few minutes spent checking the full elevation now can prevent noticeable height differences after the cabinets are installed.
4. Install a Temporary Ledger Board
A temporary ledger board can support the bottom of the wall cabinet while you position, level, and fasten it. This is especially helpful when installing multiple cabinets or working with heavier wall cabinets.
Position the Ledger Board
Use the wall cabinet bottom reference line you marked earlier to position a straight ledger board along the wall.
The top edge of the ledger should align with the planned bottom edge of the wall cabinets.
Use a level to confirm that the ledger is straight before securing it.
Secure the Ledger to Structural Support
Fasten the ledger board securely into wall studs or suitable structural support.
Do not rely on drywall alone to hold the ledger. The board needs to temporarily support the cabinet while it is being positioned and fastened.
Before drilling, confirm that the fastening locations are clear of electrical wiring, plumbing, or other hidden utilities.

Check the Ledger Before Lifting the Cabinet
Before placing a cabinet on the ledger, confirm that:
- The board is level.
- The fasteners are secure.
- The ledger does not move when light downward pressure is applied.
- The cabinet layout marks are still visible.
- The ledger will not interfere with the final cabinet fastening locations.
Once the ledger is secure, the first wall cabinet can be lifted into position and rested temporarily on the board while you check its alignment.
When You May Not Need a Ledger Board
A ledger board is useful, but it is not required for every installation.
Professional installers may use cabinet jacks, support poles, or other lifting systems. In some situations, cabinet construction, backsplash conditions, or the installation sequence may also make a ledger impractical.
Whatever support method you use, the cabinet should remain safely supported until it has been properly fastened to the wall structure.
5. Prepare the Wall Cabinet for Installation
Before lifting the wall cabinet onto the ledger, prepare the cabinet so it is easier to handle and ready to fasten safely.
Remove Doors and Adjustable Shelves
If practical, remove the cabinet doors and adjustable shelves before lifting the cabinet.
This reduces the weight and gives you better access to the inside of the cabinet while checking alignment and installing fasteners.
Keep the hinges, screws, shelves, and other hardware organized so they can be reinstalled after the cabinets are secured.
Inspect the Cabinet Mounting Area
Check the inside back of the cabinet and identify the structural mounting area intended for installation.
Depending on the cabinet construction, this may include reinforced hanging rails, mounting strips, or other structural cabinet components.
Do not assume that a thin cabinet back panel alone is designed to carry the cabinet load. Follow the cabinet manufacturer’s installation instructions and use the designated mounting areas.
Transfer the Stud Locations to the Cabinet
Use the stud marks on the wall to determine where the cabinet will be fastened.
Once the cabinet position is confirmed, mark the corresponding stud locations inside the cabinet.
If predrilling is recommended for your cabinet construction and fasteners, make the pilot holes through the appropriate structural mounting area before lifting the cabinet into place.
Avoid drilling until you have confirmed:
- The cabinet position
- Stud locations
- Fastener locations
- Cabinet mounting area
- Hidden utilities behind the wall
Check the Cabinet Before Lifting
Before moving the cabinet to the wall, confirm that:
- The cabinet box is square and undamaged.
- The correct cabinet is being installed in this location.
- Doors and shelves have been removed if needed.
- Stud locations have been identified.
- Installation fasteners are ready.
- The ledger or other support system is secure.
Once everything is prepared, the cabinet can be lifted onto the ledger and positioned for leveling and final fastening.
6. Lift, Level, and Secure the First Wall Cabinet
With the wall marked, support in place, and cabinet prepared, you can begin installing the first wall cabinet.
Because wall cabinets can be heavy and difficult to hold in position, use a second person or an appropriate cabinet lifting system whenever needed.
Lift the Cabinet Into Position
Carefully lift the cabinet onto the temporary ledger board or other support.
Align the cabinet with the layout marks on the wall and confirm that the marked stud locations correspond with the cabinet’s structural mounting area.
Do not fully tighten the installation screws yet. The cabinet may still need to be leveled, plumbed, or shimmed before final fastening.
Check the Cabinet for Level and Plumb
Place a level along the bottom or structural horizontal edge of the cabinet to check that it is level from side to side.
Then check the cabinet vertically to make sure it is plumb.
Also check the front of the cabinet. The cabinet box should not appear twisted or distorted when positioned against the wall.
Shim Uneven Areas
Walls are not always perfectly flat or plumb.
If there is a gap between the cabinet and the wall at a fastening point, use appropriate shims to support the cabinet rather than pulling the cabinet tightly against an uneven wall with the installation screws.
Add or adjust shims until the cabinet is properly positioned.
Recheck the cabinet with a level after every adjustment.
Fasten the Cabinet to the Wall Structure
Once the cabinet is correctly positioned, fasten it through the manufacturer-designated structural mounting area and into the wall studs or other approved structural support.
Use the fastener type, size, quantity, and mounting locations specified for your cabinet system.
Tighten the fasteners gradually while continuing to check the cabinet for level, plumb, and proper alignment.
Avoid overtightening the screws, which can distort the cabinet box or pull it out of alignment.

Check the Cabinet Before Moving On
Before installing the next wall cabinet, confirm that:
- The cabinet is securely fastened.
- The cabinet is level from side to side.
- The cabinet is plumb.
- The cabinet box is not twisted.
- Shims remain secure where needed.
- The cabinet edges align with the planned layout.
- The cabinet does not move when gently checked.
Do not proceed to the next cabinet until the first cabinet is properly positioned. The first cabinet establishes the reference for the rest of the wall cabinet run.
7. Install and Align Additional Wall Cabinets
Once the first wall cabinet is level, plumb, and securely fastened, use it as the reference for the remaining cabinets in the run.
Install one cabinet at a time and check the alignment before moving to the next cabinet.
Position the Next Cabinet
Lift the next cabinet onto the ledger board or other support and slide it into position beside the first cabinet.
Before fastening it to the wall, check that:
- The cabinet fronts are aligned.
- The top and bottom edges are even.
- The gap between the cabinets is closed or matches the planned design.
- The cabinet is level and plumb.
- The cabinet box is not twisted.
Use shims where necessary to compensate for an uneven wall.
Clamp the Cabinets Together
Once the two cabinets are properly aligned, clamp the adjoining cabinet sides or face frames together according to the cabinet construction.
Use protective pads or scrap wood between the clamp and finished cabinet surfaces to prevent dents or scratches.
Do not use the clamp to force badly misaligned cabinets together. Correct the level, plumb, or wall condition first.

Connect the Adjacent Cabinets
With the cabinets clamped and aligned, connect them using the appropriate cabinet-to-cabinet fasteners and locations recommended for your cabinet system.
Predrilling may help prevent splitting and make it easier to keep the connection clean and controlled.
For framed cabinets, carefully align the face frames before fastening. For frameless cabinets, make sure the front edges and cabinet sides are flush and properly aligned.
Secure the Cabinet to the Wall
After the adjacent cabinets are aligned and connected, fasten the new cabinet to the wall studs or other approved structural support using the manufacturer-designated mounting areas.
Check level and plumb again as the fasteners are tightened.
Continue this process one cabinet at a time until the entire wall cabinet run is installed.
Check the Entire Cabinet Run
Before removing the temporary support, step back and inspect the full row of wall cabinets.
Check that:
- The cabinet tops form a consistent line.
- The bottoms remain level.
- Adjacent cabinet fronts are flush.
- Gaps between cabinets are consistent.
- Cabinets are securely fastened.
- No cabinet box has been pulled out of square.
Small alignment problems are easier to correct before the doors, shelves, trim, and other finishing components are reinstalled.
8. Remove the Ledger and Adjust the Doors
Once all wall cabinets are securely fastened, aligned, and connected, remove the temporary support and complete the final adjustments.
Remove the Temporary Ledger Board
Before removing the ledger, confirm that every wall cabinet is securely fastened to the wall structure and that adjacent cabinets have been properly connected where required.
Carefully remove the screws holding the ledger board to the wall, then take the board down without damaging the cabinet finish or surrounding surfaces.
Any holes left by the temporary ledger can be repaired later during backsplash or wall-finishing work.
Reinstall Shelves and Cabinet Doors
Reinstall any adjustable shelves, cabinet doors, and hardware that were removed before installation.
Return shelves to the desired positions and make sure shelf supports are fully seated.
After reinstalling the doors, open and close each one several times to check for rubbing, uneven gaps, or interference with adjacent doors.
If new hinge holes or mounting plates are required, follow our cabinet hinge placement and installation guide before making the final door adjustments.
Adjust the Cabinet Doors
Even when the cabinet boxes are properly aligned, the doors may still require minor hinge adjustments.
Check:
- The gap between neighboring doors
- Door height
- Side-to-side alignment
- How far the door sits in or out
- Whether the door opens and closes smoothly
Make small hinge adjustments rather than changing several settings at once.
If you need more detailed instructions, see our guide to adjusting concealed cabinet hinges.
Perform a Final Installation Check
Before considering the installation complete, inspect the entire wall cabinet run.
Confirm that:
- All cabinets are securely fastened.
- Cabinet tops and bottoms form consistent lines.
- Adjacent cabinet fronts are flush.
- Doors and drawers open without rubbing.
- Hinges and hardware are secure.
- Shelves are properly supported.
- No cabinet box appears twisted or out of square.
If trim, fillers, crown molding, or finished panels are part of the kitchen design, install them only after the main cabinet run has been checked and adjusted.
9. Common Wall Cabinet Installation Mistakes
Wall cabinet installation problems often come from inaccurate layout, poor support, or fastening the cabinet before it is properly aligned. Avoid these common mistakes during installation.
| Common Mistake | Why It Causes Problems | Better Approach |
|---|---|---|
| Relying on drywall alone | Drywall is not intended to support a loaded kitchen wall cabinet by itself | Fasten the cabinet to wall studs, structural blocking, or another approved support system |
| Skipping stud location before installation | You may have difficulty finding secure fastening points after the cabinet is lifted into place | Locate and mark studs before hanging the cabinet |
| Installing without a level reference line | Cabinets can gradually rise or fall across the wall | Establish a level cabinet reference line before installation |
| Fully tightening screws too early | The cabinet may still need shimming or alignment adjustments | Position and level the cabinet first, then tighten fasteners gradually |
| Pulling the cabinet against an uneven wall | This can twist the cabinet box or pull it out of square | Use appropriate shims where the wall is uneven |
| Installing the next cabinet before checking the first | Small errors can continue across the entire cabinet run | Make sure the first cabinet is level, plumb, and secure before continuing |
| Forcing adjacent cabinets together with clamps | This can distort cabinet boxes or damage finished surfaces | Correct the cabinet position first, then clamp properly aligned cabinets |
| Ignoring appliance clearances | Cabinets may interfere with a range hood, microwave, refrigerator, or other appliance | Confirm appliance installation requirements before setting cabinet heights |
| Overtightening installation screws | Excessive force can distort the cabinet or damage the mounting area | Tighten fasteners gradually while checking alignment |
| Reinstalling doors before the cabinet run is aligned | Door gaps may appear uneven even when the hinge is not the real problem | Finish cabinet-box alignment before making final door adjustments |
Check Before You Finish
Before considering the wall cabinet installation complete, take a few minutes to inspect the entire cabinet run from several angles.
Look for:
- Uneven cabinet heights
- Inconsistent gaps
- Cabinets pulling away from the wall
- Visible twisting or misalignment
- Loose fasteners
- Doors that rub or do not close properly
Correcting these issues before installing fillers, trim, or backsplash materials is usually much easier than making changes after the kitchen is fully finished.
10. FAQ About Hanging Wall Cabinets
How do you hang wall cabinets securely?
Wall cabinets should be fastened through the cabinet’s designated structural mounting area into wall studs, structural blocking, or another approved support system.
Before fastening the cabinet, locate the studs, mark the cabinet layout, establish a level reference line, and support the cabinet while it is positioned. Check the cabinet for level and plumb before fully tightening the installation fasteners.
Can you hang wall cabinets directly on drywall?
Kitchen wall cabinets should not rely on ordinary drywall alone for structural support.
The cabinet should be secured to suitable structural support behind or within the wall, such as wall studs or blocking, using the installation method and fasteners recommended for the cabinet system.
How high should wall cabinets be installed?
In many standard kitchens, the bottom of the wall cabinets is approximately 54 inches above the finished floor, assuming a 36-inch finished countertop height and about 18 inches of space between the countertop and wall cabinets.
However, this is only a common planning reference. Cabinet height may need to change because of ceiling height, countertop thickness, appliances, range hoods, microwaves, windows, tall cabinets, or other design conditions.
Do you need a ledger board to install wall cabinets?
A temporary ledger board is not required for every installation, but it can make wall cabinet installation easier by supporting the cabinet while it is leveled and fastened.
Other support methods, such as cabinet jacks or support poles, may also be used depending on the installation.
Whatever method is used, the cabinet should remain safely supported until it is securely fastened to the wall structure.
Should wall cabinets be installed before base cabinets?
Wall cabinets are often installed before base cabinets because this gives installers more working space and reduces the risk of damaging finished base cabinets or countertops.
However, the installation sequence may vary depending on the kitchen layout, project conditions, and installer preference.
If base cabinets or countertops are already installed, protect the finished surfaces carefully before working above them.
How do you keep multiple wall cabinets level?
Start by installing the first cabinet level and plumb. Use it as the reference for the remaining cabinets.
Position each additional cabinet beside the previous one, check the top and bottom alignment, shim where needed, clamp adjoining cabinets together, and connect them before completing the wall fastening.
Recheck the full cabinet run as you work instead of waiting until every cabinet has been installed.
Final Thoughts
Installing wall cabinets successfully comes down to careful preparation, accurate layout, proper support, and secure fastening. Locate the wall studs first, establish a level reference line, support the cabinet while positioning it, and check level and plumb before fully tightening the fasteners.
When installing multiple wall cabinets, use the first cabinet as your reference and align each additional cabinet carefully before moving on. Taking time to correct small alignment issues during installation can help prevent uneven cabinet lines, rubbing doors, and difficult finishing work later.
For more help with the complete installation process, see our cabinet installation guide. If you are still planning your kitchen or selecting cabinetry, explore our kitchen cabinets to compare available styles, finishes, sizes, and configurations.


About author

Related posts

Kitchen cabinet quotes can look similar at first but include very different products and services. One quote may include plywood cabinet boxes, finished end panels,... Continue reading

A knee drawer is a specialized vanity cabinet component designed to add storage while creating comfortable open space underneath a bathroom countertop. Knee drawers are... Continue reading

A 33-inch farmhouse sink is a common choice for a 36-inch base cabinet, but it is not a universal rule. The correct fit depends on... Continue reading

A kitchen cabinet filler is a narrow finished strip used to close or manage the space between a cabinet and a wall, appliance, corner, or... Continue reading

Choosing RTA cabinets involves more than comparing door styles or headline prices. You need to evaluate cabinet-box construction, door materials, available sizes, hardware, shipping, assembly,... Continue reading





Add comment