No products in the cart.
Return To Shop


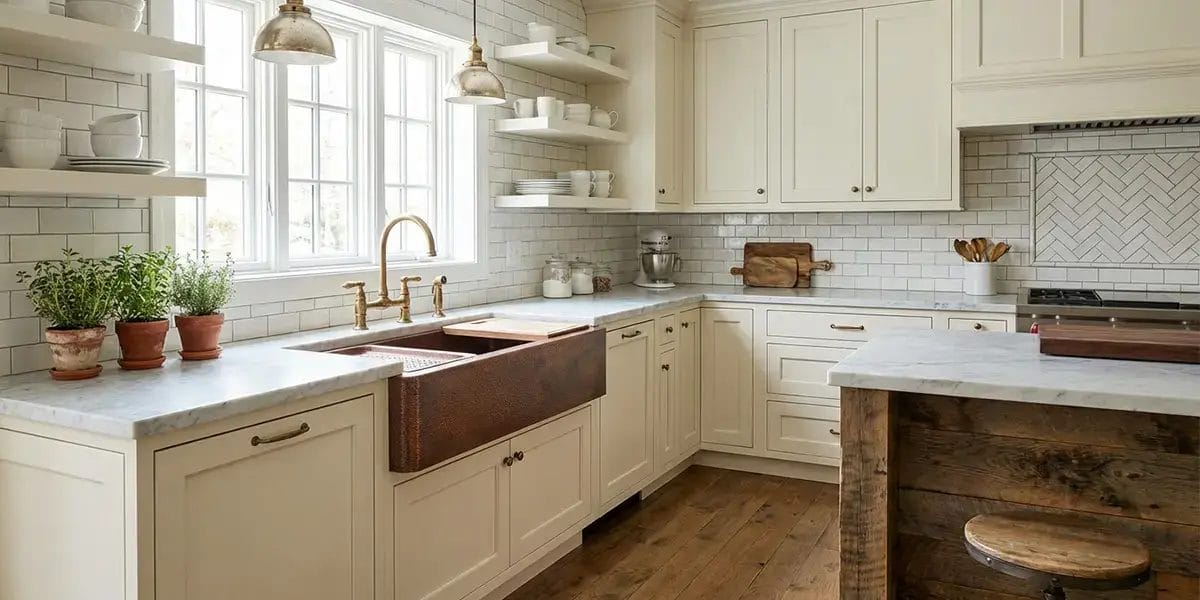
How to Install a Kitchen Sink
If you’re planning a kitchen upgrade, installing a new sink might seem like a simple task.
I’ve had many homeowners tell me,
“It looks easy enough—I’ll just do it myself.”
And honestly, sometimes that’s true.
But here’s what I’ve learned after years of working on real kitchens:
A kitchen sink is one of those things that’s easy to underestimate—and expensive to fix if done wrong.
It’s not just about dropping a sink into a hole.
It’s about sealing, plumbing, alignment, and making sure everything works properly for years.
So before you pick up your tools, let me walk you through what really matters.
Table of Contents
First — Should You Install It Yourself?
Before we even talk about steps, let’s be honest for a second.
You can install a kitchen sink yourself if:
• You’re replacing an existing sink (same size)
• Plumbing connections are already in place
• You’re comfortable using basic tools
But I usually recommend hiring a professional if:
• You’re cutting a new countertop opening
• You’re working with stone (quartz or granite)
• Plumbing needs to be modified
• You’ve never done this before
Because one small mistake can lead to:
• Water leaks
• Cabinet damage
• Mold issues later on
And those repairs cost far more than installation.
The Basic Installation Process (Simplified)
If you do decide to install it yourself, here’s a simplified version of the process—without all the unnecessary complexity.
1. Make Sure Everything Fits
Before anything else, confirm your sink size matches your countertop cutout.
This sounds obvious, but it’s one of the most common mistakes.
Also check:
• Faucet holes
• Drain size
• Cabinet space underneath
A few minutes here can save hours later.
2. Apply Proper Sealing (This Matters More Than You Think)
This is where many DIY installations fail.
Before placing the sink, apply a continuous line of waterproof silicone sealant around the edge.
This seal is what keeps water from leaking into your cabinets.
If it’s uneven or incomplete, moisture will eventually find its way in.
And once that happens, damage builds quietly over time.
3. Set and Secure the Sink
Carefully lower the sink into place.
Make sure:
• It sits evenly
• The edges are flush
• There are no visible gaps
Then secure it using the mounting clips.
Don’t overtighten—this can warp the sink or damage the countertop.
4. Connect the Drain (Don’t Rush This Step)
The drain system is another area where problems often start.
Make sure:
• All connections are tight
• Washers are properly placed
• Pipes have a slight downward slope
That slope is what allows water to flow smoothly instead of sitting in the pipes.
And don’t forget the P-trap—it prevents unpleasant odors from coming back up.
5. Connect Water Lines and Test Everything
Hook up your hot and cold water lines.
Turn the water on slowly and check:
• Under the sink
• Around the faucet
• At every connection point
Let the water run for a few minutes.
If there’s even a small leak, fix it immediately.
Common Mistakes I See All the Time

Let me save you from a few headaches.
These are the most common issues I see in real homes:
Skipping proper sealing
Leads to cabinet water damage
Overtightening fittings
Causes cracks or leaks later
Poor sink alignment
Water doesn’t drain properly
Using low-quality parts
Short lifespan, early replacement
Sometimes spending a little more upfront saves a lot later.
Choosing the Right Sink Matters Too
Installation is only half the story.
Choosing the right sink makes everything easier from day one.
For most American homes, I usually recommend:
• Undermount sinks – easier to clean
• Stainless steel or ceramic – durable and practical
• Standard sizes – easier replacement in the future
Simple choices tend to age better.
Final Thoughts
Installing a kitchen sink isn’t the hardest project—but it’s also not the most forgiving.
If done right, you won’t think about it again for years.
If done wrong, you’ll notice it every single day.
So take your time.
Use good materials.
And don’t hesitate to get help if something feels uncertain.
Because at the end of the day, your kitchen should feel easy to use—not something you have to worry about.


Related posts

If you’re planning a laundry setup on your balcony, one question matters more than anything else: What kind of cabinet will actually last—and not turn... Continue reading

If your kitchen feels tight, cluttered, or just hard to work in—you’re not alone. I’ve worked with plenty of homeowners across the U.S., and honestly,... Continue reading

When planning a bathroom remodel, many homeowners focus on tile, lighting, or paint colors. But after working with bathroom designs for many years, I’ve learned... Continue reading

A wall mounted wine rack is more than just a storage solution. In many homes, it becomes a subtle design feature that adds personality and... Continue reading

Glass cabinets have become an increasingly popular choice in modern home design. Their transparent surfaces bring a sense of lightness and elegance that traditional solid... Continue reading


Add comment