No products in the cart.
Return To Shop


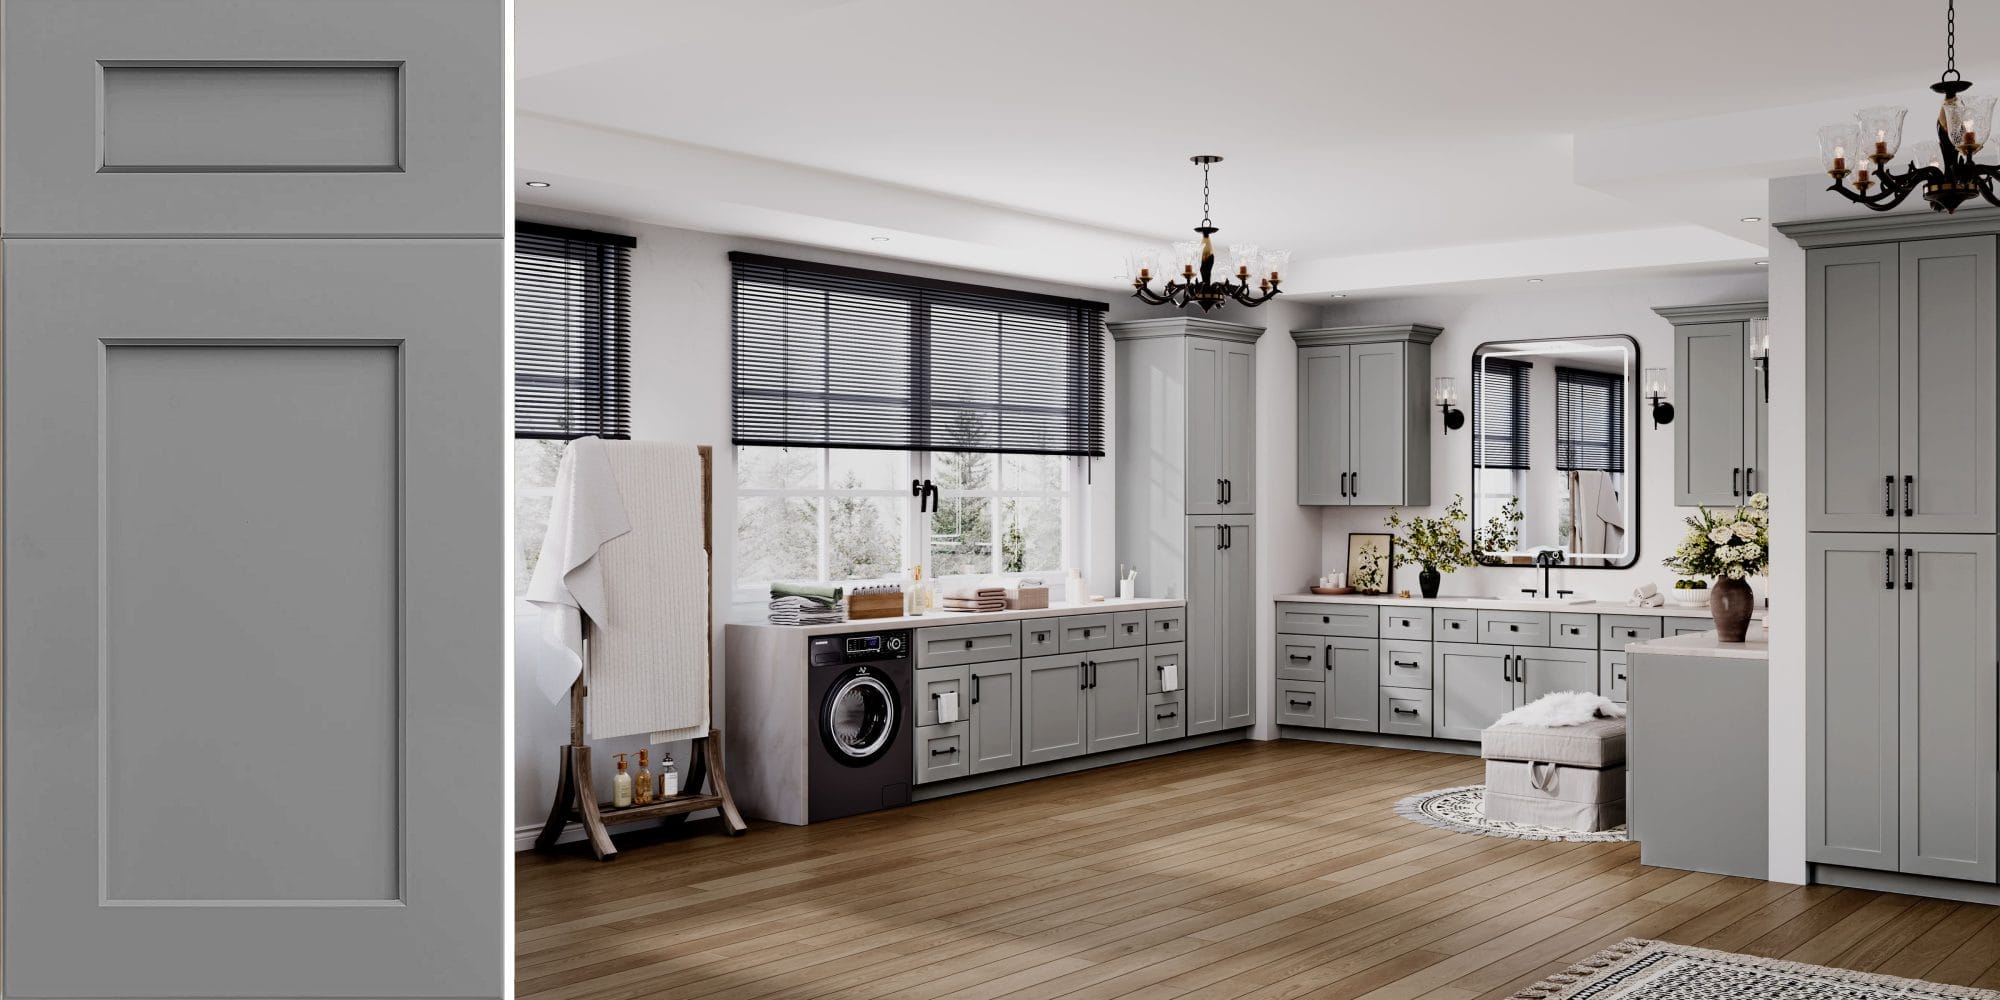
Integrated Bathroom Vanity with Sink: Pros, Cons & Best Picks
In contemporary bathroom design, the integrated bathroom vanity with sink is increasingly favored for its sleek appearance and practicality. Compared to traditional separate units, it provides superior splash resistance and simplifies cleaning and maintenance.
This article examines integrated bathroom vanity with sink’s pros and cons, applicable bathroom dimensions and styles, installation guidelines, and upkeep, while recommending three quality models to assist in choosing the ideal bathroom furniture.
Table of Contents
Comparison between Integrated and Split Washbasin Cabinets
An integrated bathroom vanity with sink is manufactured as a single unit combining the sink and the cabinet body. It is usually made from materials such as ceramic, quartz, marble, or even composite materials. The sink is directly embedded or molded into the countertop, eliminating gaps between the sink and the cabinet.
In contrast, traditional separate designs feature the sink and cabinet as independent components, with the sink installed on or inserted into the countertop, where the joint often accumulates water and dirt.
Material and Appearance
- Integrated: Strong sense of unity, smooth surface, good waterproof performance, consistent glossiness and texture, easier to reflect a modern and minimalist style.
- Separate: Materials can be flexibly combined; the sink and cabinet can be replaced or upgraded independently, but the joints may have leakage risks and require additional sealing treatment.
Maintenance and Replacement Convenience
- Integrated: Due to the fixed overall structure, if the sink or countertop is damaged, repair and replacement costs tend to be higher.
- Separate: When issues arise with the sink or cabinet, they can be individually removed and replaced, making maintenance more convenient. This is suitable for those on a budget or who like to change styles frequently.
| Type | Advantages | Disadvantages |
| Integrated | – Strong sense of unity and seamless appearance- Smooth surface with good waterproofing- Consistent texture and gloss- Better suited for modern, minimalist styles | – Fixed overall structure limits design and material options- Higher repair and replacement costs if sink or countertop is damaged |
| Separate | – Flexible combinations of materials- Sink and cabinet can be independently replaced or upgraded- Easier and more convenient maintenance | – Joints between sink and cabinet may leak without extra sealing- Potential hidden risks at connection points |

Suitable Bathroom Sizes and Decoration Styles
Integrated vanity units are usually designed with compact dimensions, featuring a countertop and sink molded as one piece, making them suitable for small to medium-sized bathrooms. For bathrooms with limited space, the integrated design can effectively save installation space and simplify plumbing layout. Check out our bathroom gallery for more design inspiration.
Size suggestions
I have selected some common sizes for your reference.
| types | size | function |
| Single-Top Bathroom Vanity | 24-30 inches | to avoid crowding |
| Narrow Depth Vanity | 18-20 Inches | Suitable for narrow passageways or compact bathrooms. |
| Corner Bathroom Vanity | 30-36 inches per side | To make effective use of otherwise neglected corners in L-shaped bathrooms. |
Decoration suggestions
| Style | Explanations |
| Modern | Modern vanities have clean lines, simple hardware, neutral colors, matte flat-panel cabinets, and quartz tops, perfect with wall-mounted faucets and frameless mirrors. |
| Antique | Antique vanities with distressed wood, ornate details, and marble tops add classic character, creating a warm and elegant atmosphere. |
| Rustic | Rustic vanities have a natural, back-to-basics feel, perfect for farmhouse or cabin styles. |
Installation and plumbing compatibility
When installing an integrated vanity, it is crucial that the position of the plumbing drain outlet matches the cabinet design. Typically, the bottom of the integrated sink is designed with reserved openings for the drain and overflow, and the plumbing must align accurately with these points.
So, how to ensure the drain position matches the cabinet dimensions?
Measure the drain outlet height
Before purchase, accurately measure the height of the wall drain pipe to ensure the drain outlet corresponds with the reserved drain hole inside the vanity, preventing misalignment after installation that could affect drainage.
Measure the internal cabinet space
Check the space inside the cabinet for plumbing installation, especially in small cabinets with limited space. The integrated design may have different reserved areas, and the pipes must be able to connect smoothly during installation.
Seek professional installation advice
If uncertain about the height or dimensions, it is recommended to hire a professional to measure and install to avoid rework or secondary construction due to incompatible sizes.
Common Issues and Routine Maintenance
To reduce the frequency and cost of repairs and replacements, we need to know how to protect and maintain it to extend the vanity’s lifespan.
Common Issues
- Difficult-to-clean water accumulation in gaps: Although the integrated design minimizes gaps between the sink and the cabinet, deposits of limescale or mold may still accumulate where the countertop edges meet the wall.
- Aging of sealant: After prolonged use, waterproof sealant may crack or peel off, causing water to seep into the cabinet and leading to mold or rot.
Maintenance Recommendations
- Regularly clean gaps and edges: Use a soft brush and a neutral cleaner to clean the gaps between the countertop and the wall, keeping them dry to prevent bacterial growth.
- Replace sealant periodically: Inspect the sealant every 1-2 years; if cracks or discoloration occur, reapply sealant promptly to maintain waterproofing.
Purchase Recommendations
There are some considerations before purchasing, such as the choice of materials, the thickness and load-bearing capacity of the countertop, and the design of the overflow drain.
Choose water-resistant and moisture-proof materials
The cabinet body should be made of materials with good moisture resistance, such as PVC board, cement board, or multi-layer solid wood panels, to extend service life.
Pay attention to countertop thickness and load-bearing capacity
Countertop thickness directly affects durability and visual weight. A thickness between 12-20mm is recommended, with flexibility based on different materials.
Check the overflow drain design
The bathroom overflow drain is a crucial component designed to prevent flooding by redirecting excess water back into the drainage system. Understanding its parts and functions—including its connection to the drainpipe—is essential for proper maintenance and troubleshooting.
Steps to install an overflow on an integrated washbasin
Total Time: 30 minutes
1. Prepare Tools and Materials
Gather a screwdriver, sealant, wrench, and the overflow assembly parts.
2. Confirm Installation Position
Locate the overflow hole on the front of the basin and ensure the edges are smooth.
3. Install the Overflow Assembly
Insert the main overflow part into the overflow hole, making sure it is properly aligned.
4. Connect the Overflow Pipe
Attach the overflow pipe to the basin’s drainage system, ensuring a tight, leak-free connection.
5. Seal the Connection
Apply sealant or use a rubber gasket around the connection to prevent water leaks.
6. Test and Inspect
Pour water to check that the overflow functions correctly and there are no leaks.
For integrated vanity, overflow drain and compatible parts are usually predesigned. It’s recommended to follow the product manual or consult a professional for proper installation.
Conclusions
Whether you are renovating a new bathroom or preparing to replace an old vanity, an integrated bathroom vanity with a sink is the perfect choice to enhance both functionality and aesthetics. Its splash-resistant and easy-to-clean features, along with a compact and attractive design, make it an ideal upgrade.
Take action now and choose a product that best fits your bathroom’s style and size to give your space a fresh new look!


Related posts

Receiving the keys to a new home is an exciting milestone yet it often brings an important and sometimes confusing question. What is the best... Continue reading

The kitchen is far more than a place for cooking meals. In many American homes it has become a central space for daily routines family... Continue reading

Kitchen cabinets play a vital role in both the function and visual identity of a kitchen. Among all cabinet components, cabinet doors are the most... Continue reading

The colors you choose for your home don’t just paint walls—they shape moods, create feelings, and influence how every day unfolds. In 2026, whole home... Continue reading

In modern home renovation projects, custom cabinetry has become a core element in both kitchen and bathroom planning. Choosing the right custom cabinet supplier is... Continue reading


Add comment