No products in the cart.
Return To Shop


Small Kitchen Solutions: Make Every Inch Useful
My core belief: A small kitchen doesn’t have to equal daily frustration. With realistic planning, smart design choices, and honest compromises, a small kitchen can become a functional, even comfortable, heart of your home.
As a kitchen designer with two decades of experience — and as someone who’s lived the everyday “mom‑in‑the‑kitchen” life in California — I’ve seen countless small kitchens transformed from cluttered, chaotic spaces into efficient, organized, and even cozy cooking zones. The key isn’t magic, it’s method. Below I lay out four practical strategies that I recommend to any family dealing with limited kitchen space — and explain exactly why they work, when they make sense, and what to watch out for.
Table of Contents
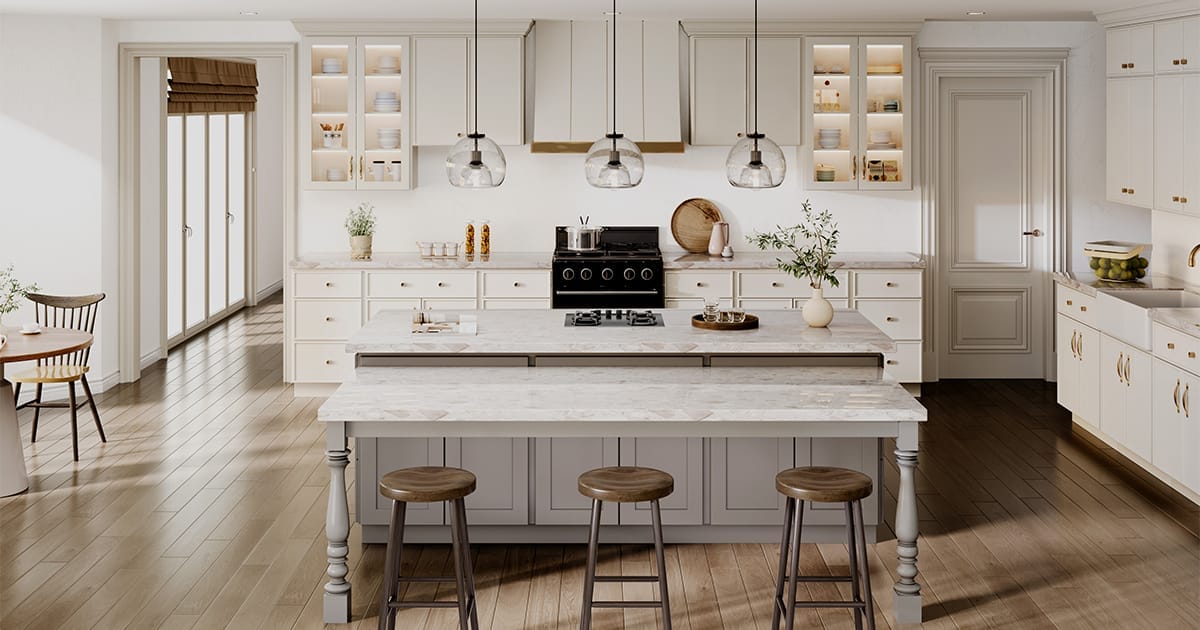
1. Make It Bright & Light

One of the most powerful — yet affordable — ways to make a small kitchen feel larger is to control how it “reads” to the eye.
- Light or soft‑neutral color palette: Cabinets, walls, and even countertops painted in white, cream, soft gray, or pale tones help bounce light around the room. That reflected light makes walls recede and makes the space feel airier.
- Glossy or reflective surfaces where possible: A glossy backsplash, light-reflective tiles, or even stainless‑steel appliances can help the light reflect further, giving an illusion of depth. When natural light is limited, this effect becomes especially noticeable.
- Keeping surfaces clean and uncluttered: Clutter is one of the biggest enemies of a small kitchen. Messy counters, mismatched colors or busy patterns, and too many contrasting finishes break visual continuity — making the space feel fragmented and smaller.
When this is most effective:
- If your kitchen has at least some natural or artificial light.
- If you don’t mind regular cleaning (light surfaces show dirt more easily).
- If you want to improve “feel” without structural changes or big cost.
Watch out for:
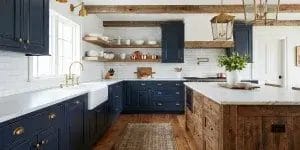
- Very clinical or “sterile” look if you overdo uniform lightness — adding subtle textures or wood tones can balance warmth and brightness.
- Light surfaces and glossy finishes show dirt/spills easily — means you need a “clean-as-you-go” habit.
2. Use Vertical & Smart Storage

Because floor space is limited in small kitchens, using vertical space and smart storage solutions often delivers the biggest payoff. Here’s what works:
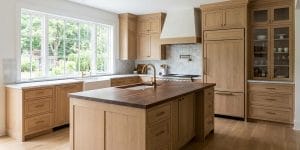
- Ceiling‑high or tall cabinets / slim vertical storage: By using cabinets or pantry units that extend up to the ceiling — or narrow tall units — you can store bulky, seldom-used items (large pots, holiday dishes, small appliances) out of the way, freeing up lower, easy-access space for daily use.
- Wall‑mounted racks, pegboards, magnetic strips, hooks: Utilizing wall space for pots, pans, utensils, spices, mugs can free up cabinet and counter space significantly. These are often inexpensive, renter‑friendly, and make everyday cooking tools more accessible.
- Pull‑out drawers / slide‑out shelves instead of deep fixed cupboards: Deep cabinets in small kitchens tend to become “black holes” — items get lost at the back, hard to reach, heavy to pull out. Drawers or pull‑outs make storage accessible, organized, and user‑friendly.
When this is most effective:
- Families who cook often, store many pots/pans, or have limited pantry space.
- Kitchens where floor area is precious, but wall‑height remains underutilized.
- Renters or people not wanting to tear down walls — many of these solutions are reversible or low‑commitment.
Watch out for:
- If ceiling is low — tall cabinets might make space feel cramped overhead.
- If wall structure or plumbing/electrical layout doesn’t support heavy wall‑mounted storage — must plan carefully.
- Maintaining organization and avoiding “overflow” — vertical storage sometimes encourages piling up rather than organizing.
3. Declutter & Organize Smartly
You can have ideal cabinetry and good lighting — but if you let clutter accumulate, the kitchen will still feel small. I recommend adopting a “real‑life maintenance plan.” Here’s how:
- Use the 80/20 rule for storage: Aim to fill only ~80% of your shelves/drawers — leave some breathing room for groceries, new utensils, shopping bags, seasonal items. Full cupboards often lead to premature clutter and cramped feeling.
- Sort by frequency & use‑case: Keep daily cookware, dishes, spices, utensils in the most accessible storage. Items you rarely use — holiday bakeware, extra gadgets — store high up, or in vertical/less convenient spots.
- Minimize countertop clutter: Try to store small appliances, kitchen gadgets, and seldom-used tools out of sight. A mostly-clear countertop makes the kitchen feel larger and gives usable prep space.
- Be honest about what you really need: It’s tempting to keep “just in case” items. But every extra item adds visual weight and storage burden. Regularly review what’s used — donate or store off‑site what’s not essential.
When this is most effective:
- Families with many household items, kids, frequent cooking and cleaning — the more activity, the more clutter, so organization makes big difference.
- If you value ease of cleaning and want to reduce kitchen stress.
Watch out for:
- It requires discipline — clutter tends to creep back if organization habits aren’t maintained.
- Some storage solutions (e.g. pull‑outs, wall racks) may cost a bit more or require installation — but payoff is easier kitchen life.
4. Plan Based on Real Needs, Not Trends
Finally: don’t adopt every “small‑kitchen trick” you see online. Instead, base decisions on your family’s lifestyle, cooking habits, and budget. Here’s how I suggest you strategize:
- Inventory your actual needs: How often do you cook? How many people eat at home? Do you bake often? Do you host guests? These questions help you decide which storage/furniture upgrades are worth it.
- Prioritize upgrades that give the most benefit per cost / effort: For example — installing pull‑out drawers or wall storage tends to give high returns; while full-scale structural renovation might be costly and time consuming.
- Plan in phases, not all at once: Maybe start with declutter + wall racks + better lighting; then evaluate after a few months whether you need drawers, tall cabinets, or other upgrades.
- Consider maintenance and practicality: Light colors and open shelving look good, but demand more cleaning. High cabinets look great — but may be impractical for everyday reach. Choose based on what you and your family can realistically maintain over time.
When this approach is most effective:
- Families with limited budget, rented homes, or varying future plans.
- Those who want improvements without over‑committing to big remodels.
- People looking for long‑term manageable solutions, not just “before‑after” Instagram shots.
What to avoid:
- Blindly chasing trends. What works in a showroom might fail under daily wear, kids, cooking mess, etc.
- Overloading storage — more storage is not always better if items keep multiplying.
Final Thought: Make It Work for You
I don’t promise that your small kitchen will look like a high‑end showroom. But I promise you this: if you follow these four strategies — light & color + smart storage + realistic organization + strategic planning — your kitchen can stop being a pain point and become a workspace that supports your daily life.
This isn’t about perfection. It’s about a kitchen that works for you, not against you. A kitchen where you don’t dread cooking or cleaning, where you can find what you need without rummaging, where meals still happen without chaos — even in 60 or 70 square feet.
Start with small steps. Do what feels realistic. And over time, you might find that your “small kitchen” stops feeling limiting — and starts feeling like home.


Related posts

Receiving the keys to a new home is an exciting milestone yet it often brings an important and sometimes confusing question. What is the best... Continue reading

The kitchen is far more than a place for cooking meals. In many American homes it has become a central space for daily routines family... Continue reading
Kitchen cabinets play a vital role in both the function and visual identity of a kitchen. Among all cabinet components, cabinet doors are the most... Continue reading
The colors you choose for your home don’t just paint walls—they shape moods, create feelings, and influence how every day unfolds. In 2026, whole home... Continue reading
In modern home renovation projects, custom cabinetry has become a core element in both kitchen and bathroom planning. Choosing the right custom cabinet supplier is... Continue reading


Add comment