No products in the cart.
Return To Shop


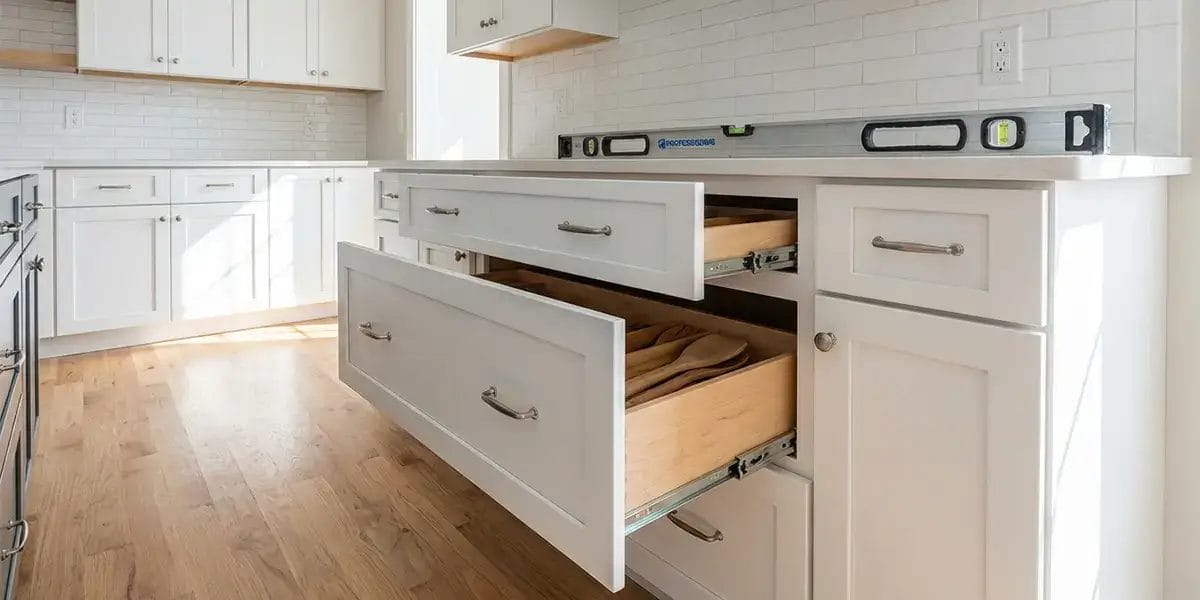
How to Install Drawer Cabinets Step by Step
After working as a home and kitchen designer for more than twenty years, I’ve learned that small details often make the biggest difference in a home. One of those details is something many homeowners overlook: how storage cabinets are installed.
Drawer cabinets are one of the most practical and efficient storage solutions you can add to a home. Whether they are in a kitchen, bedroom, office, or living space, they help keep everyday items organized and easy to reach. But here’s something many people don’t realize—even the best cabinet can perform poorly if it isn’t installed correctly.
A well-installed drawer cabinet should feel effortless to use. Drawers should glide smoothly, the cabinet should remain stable, and the structure should hold up for many years of daily use. In this guide, I’ll walk you through the installation process step by step, while also sharing a few professional tips that can help you avoid common mistakes.
Table of Contents
Why Proper Installation Matters
Many homeowners focus heavily on cabinet design, materials, and finishes. Those things are important, of course, but installation plays an equally critical role.
When drawer cabinets are installed improperly, several problems may appear over time:
- Drawers become difficult to open or close
- Slide rails wear out prematurely
- Cabinets become unstable or uneven
- Structural joints loosen after repeated use
I always remind my clients that a properly installed cabinet can last for decades, while a poorly installed one may start causing problems within just a few years.
The good news is that with careful preparation and attention to detail, installing drawer cabinets can be straightforward.

Step 1: Prepare Before You Start
Preparation is the step that prevents most installation problems.
Start by unpacking all components and verifying that everything is included. A typical drawer cabinet package should contain:
- Cabinet panels
- Drawer boxes
- Slide rails
- Screws and mounting hardware
- Installation instructions
Take a moment to inspect each piece. Look for damaged panels, bent slide rails, or missing screws. It’s always better to catch these issues before assembly begins.
Next, gather the necessary tools. Most installations require:
- Cordless drill
- Phillips screwdriver
- Flat head screwdriver
- Tape measure
- Level
- Adjustable wrench
- Pencil for marking measurements
Using the right tools makes the installation smoother and prevents damage to screws or cabinet panels.
Step 2: Choose the Right Installation Location
Before assembling the cabinet, think carefully about where it will be placed.
Drawer cabinets need enough clearance in front of them so the drawers can fully extend. In kitchens or offices, this is especially important because drawers often store frequently used items.
Measure the available space and compare it with the cabinet dimensions. Use a pencil and tape measure to mark reference lines on the floor or wall. These lines help ensure that the cabinet sits perfectly aligned once installed.
A small mistake at this stage can cause alignment problems later, so take your time with measurements.
Step 3: Assemble the Cabinet Frame
The cabinet frame forms the structural foundation of the entire unit.
Most drawer cabinets consist of several main components:
- Two side panels
- A top panel
- A bottom panel
- A back panel
Follow the assembly instructions carefully and connect these panels using the provided screws or fasteners. Make sure all corners form accurate right angles.
Once assembled, the cabinet frame should feel solid and stable. If it wobbles or shifts, double-check the connections and tighten any loose screws.
Step 4: Install the Drawer Slide Rails
Drawer slide rails are responsible for smooth movement.
Most slide systems have two parts:
- One attached to the cabinet interior
- One attached to the drawer box
Start by installing the cabinet-side rails along the marked reference lines. Use a level to ensure they are perfectly horizontal.
Even a small tilt can cause drawers to slide unevenly, so accuracy is important here.
Secure the rails firmly but avoid over-tightening screws, which may damage the cabinet panels.
Step 5: Assemble the Drawers
Next, assemble the individual drawer boxes.
Typically, a drawer includes:
- Front panel
- Rear panel
- Two side panels
- Bottom panel
Once the box structure is assembled, attach the drawer-side components of the slide rails.
Double-check that all screws are tightened evenly and that the drawer structure remains square.
Step 6: Insert and Test the Drawers
Now comes the satisfying part—installing the drawers.
Carefully align the drawer slides with the cabinet rails and guide the drawer into place. Most modern slide systems will lock smoothly once aligned correctly.
After inserting the drawer, test its movement several times.
A properly installed drawer should:
- Slide smoothly
- Remain level
- Open and close quietly
If you notice resistance or uneven gaps, remove the drawer and adjust the rail alignment.
Step 7: Check Stability and Make Final Adjustments
Once all drawers are installed, take a few minutes to test the cabinet as a whole.
Open and close each drawer several times. Listen for unusual sounds and watch for uneven movement.
Also check the cabinet’s stability. It should sit firmly without rocking. If needed, tighten screws or adjust the base until the structure feels solid.
This final inspection ensures the cabinet will perform reliably over time.
Professional Tips to Improve Long-Term Performance
Over the years, I’ve learned a few small tricks that can significantly improve cabinet durability.
Use soft-close slide rails whenever possible.
They make drawers quieter and reduce wear from sudden impacts.
Always install cabinets on level surfaces.
Uneven floors can cause drawers to shift and wear unevenly.
Avoid overloading drawers.
Even strong slide rails have weight limits.
Clean slide rails occasionally.
Dust buildup can affect smooth movement over time.
These simple habits can help extend the life of your cabinets significantly.
Final Thoughts
Drawer cabinets may seem like a simple piece of furniture, but proper installation makes all the difference in how they perform every day.
When installed correctly, they provide smooth functionality, long-lasting durability, and a more organized living space. And from my experience as a designer, the homes that feel the most comfortable are often the ones where storage works effortlessly in the background.
Take your time during installation, measure carefully, and pay attention to alignment. With the right approach, your drawer cabinets will serve your home reliably for many years.


About author
Related posts

For years, homeowners on Reddit’s r/kitchenremodel and r/DesignMyRoom have asked the same question: “Are two-tone kitchen cabinets a timeless classic, or just a trendy style... Continue reading

When people shop for new cabinet doors, they often focus on color, style, or finish first. That makes sense. But in real home projects, the... Continue reading

Painting bathroom cabinets is not the same as painting a dresser or a living room shelf. A bathroom is a humid space, which means the... Continue reading

Floating cabinets are beautiful. They make a space feel lighter, cleaner, and more refined. No bulky legs, no visual clutter — just a clean, modern... Continue reading

Cabinets take up a large part of any kitchen, bathroom, or laundry room. When the color no longer feels right, the whole space can start... Continue reading


Add comment