No products in the cart.
Return To Shop.png?sharp=1)
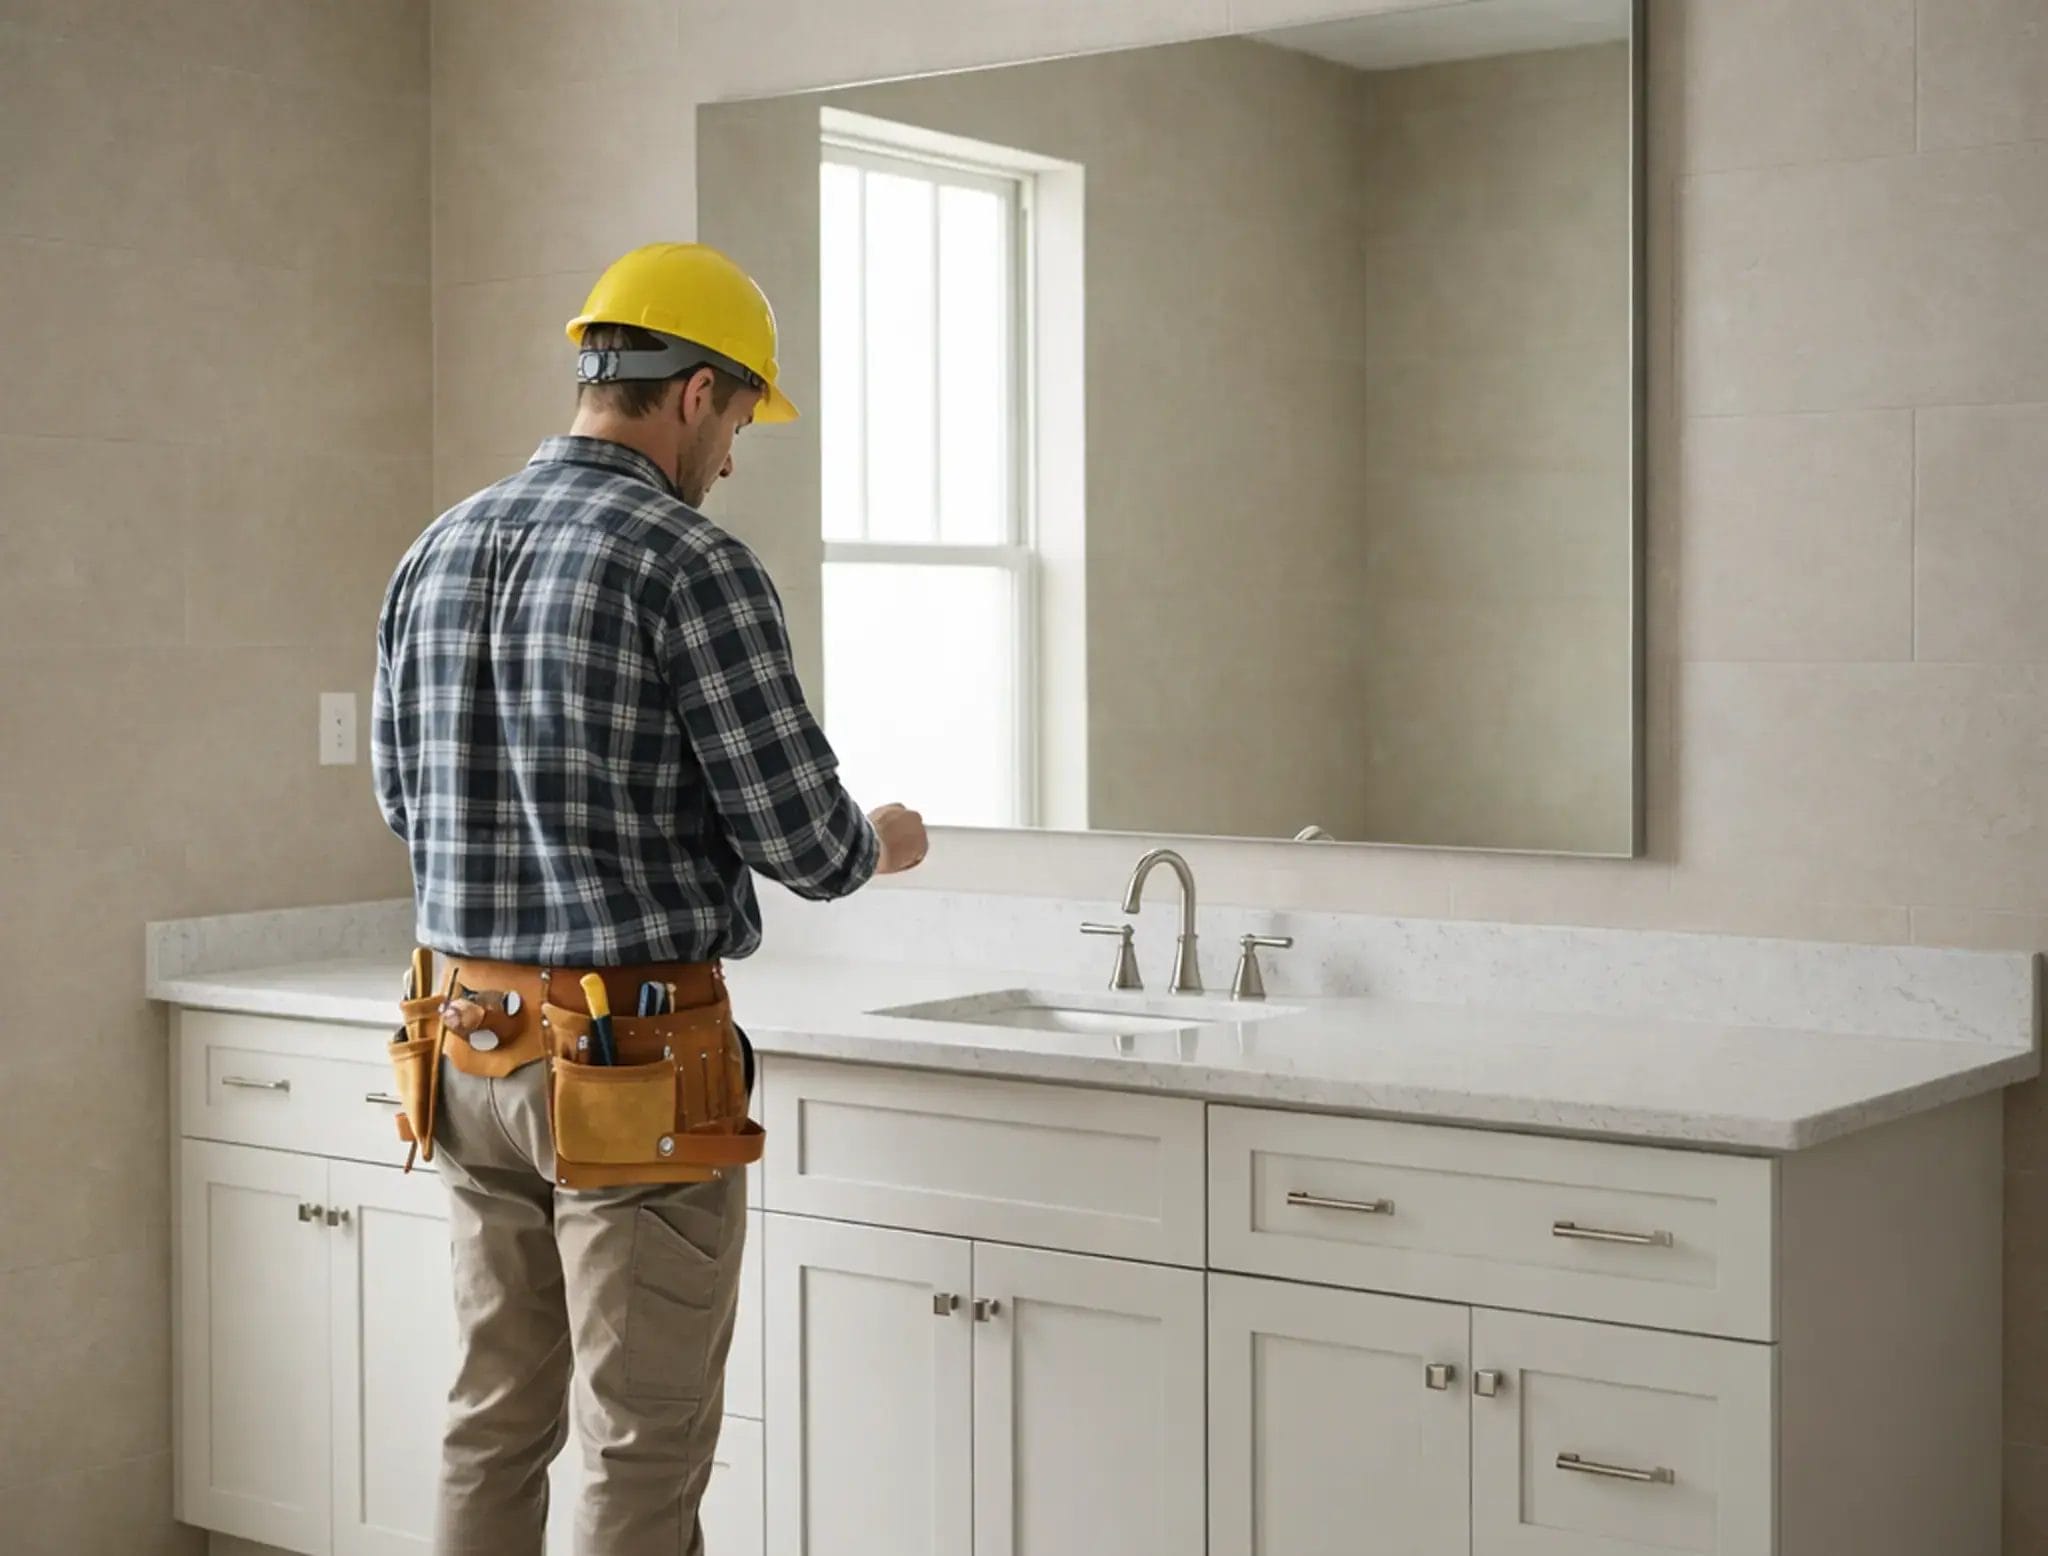



Kitchen Cabinet Installation Checklist: Before, During & Final Inspection
Use this checklist before, during, and after cabinet installation to catch alignment, clearance, fastening, and finishing problems before countertops and appliances make corrections more difficult.
Before Installation
- Confirm the Cabinet Layout and Dimensions
- Inspect Cabinets and Parts for Damage
- Check Walls, Floors, and Installation Area
- Confirm Plumbing, Electrical, and Appliance Locations
- Locate Wall Studs and Structural Support
During Wall Cabinet Installation
- Establish Level Reference Lines
- Verify the Wall Cabinet Installation Method
- Check Wall Cabinets for Level, Plumb, and Secure Fastening
- Check Alignment Between Adjacent Cabinets
During Base Cabinet Installation
- Check Base Cabinets for Level and Plumb
- Confirm Cabinet-to-Cabinet Alignment
- Verify Appliance Openings and Clearances
- Check Fillers, End Panels, and Corner Clearances
- Inspect Plumbing and Utility Cutouts
Final Kitchen Cabinet Installation Inspection
- Check Doors and Drawers
- Check Door Gaps and Hinge Adjustment
- Inspect Handles and Cabinet Hardware
- Check Toe Kicks, Fillers, and Finished Panels
- Inspect Cabinet Surfaces for Damage
- Complete the Final Cabinet Installation Checklist
Table of Contents
Before Kitchen Cabinet Installation
1. Confirm the Cabinet Layout and Dimensions
Before any cabinet is secured to the wall, compare the final cabinet layout with the actual room dimensions. Confirm that every cabinet is in the correct position and that the planned widths, heights, and clearances still match the space.
Pay particular attention to corners, appliance openings, sink locations, tall cabinets, fillers, and finished end panels. Small measurement differences can become much harder to correct once several cabinets have already been fastened together.
Before installation begins, verify:
- Overall cabinet run dimensions
- Base and wall cabinet positions
- Corner cabinet clearances
- Refrigerator, range, dishwasher, and other appliance openings
- Sink base and plumbing locations
- Tall cabinet and pantry locations
- Required fillers and finished end panels
- Door and drawer opening clearances
If the room measurements still need to be verified, review our how to measure your kitchen for cabinets guide before installation. For standard cabinet dimensions and planning references, see our kitchen cabinet size chart.
2. Inspect Cabinets and Parts for Damage
Inspect all cabinet boxes, doors, drawer fronts, shelves, fillers, panels, and hardware before installation begins. Damage that is easy to identify while the cabinets are still unpacked can become much harder to document or correct after the cabinets have been installed.
Check for:
- Cracked or damaged cabinet boxes
- Chipped corners or finished edges
- Scratched or damaged doors and drawer fronts
- Warped or misaligned panels
- Missing shelves, hinges, drawer parts, or hardware
- Incorrect cabinet sizes or styles
- Color or finish differences between matching cabinets
- Damage around predrilled holes or mounting areas
If possible, compare the cabinet labels and quantities with the final order or cabinet layout before installers begin fastening cabinets in place. Any damaged or incorrect components should be documented with photos and separated from the installation area until the issue is resolved.
Do not wait until the final inspection to report obvious shipping or product damage. Identifying these problems before installation helps separate delivery-related damage from damage that may occur during installation.

3. Check Walls, Floors, and Installation Area
Before cabinet installation begins, confirm that the walls, floor, and surrounding work area are ready. Cabinets should not be installed against surfaces that still need major repair, leveling, drywall work, or utility changes.
Check the installation area for:
- Uneven or damaged flooring
- Walls that are noticeably out of plumb
- Corners that are not square
- High or low points in the floor
- Unfinished drywall, paint, or wall repairs
- Debris or materials blocking the cabinet footprint
- Flooring height changes that may affect cabinet or appliance clearance
Do not use tile grout lines, backsplash edges, or existing trim as the primary reference for cabinet level. Instead, identify the high point of the floor and establish accurate level reference lines with a level or laser before cabinets are positioned. Cabinet manufacturers commonly use this high-point and level-line method when preparing for installation.
If walls are not perfectly flat or square, installers may need to use shims or adjust fillers so the cabinet faces remain aligned. These conditions should be identified before several cabinets are permanently fastened together.
4. Confirm Plumbing, Electrical, and Appliance Locations
Before cabinets are installed, verify that plumbing, electrical connections, gas lines, and appliance locations match the final kitchen layout. Utility locations that are even slightly off can interfere with cabinet boxes, drawers, shelves, appliances, or countertop installation.
Check the following:
- Sink drain and water-supply locations
- Dishwasher water, drain, and electrical connections
- Refrigerator opening and required utility connections
- Range or cooktop location
- Gas or electrical connections for cooking appliances
- Microwave or wall-oven cabinet locations
- Outlets and switches near cabinets
- Hood or ventilation requirements
- Appliance door and drawer clearances
Compare the actual appliance dimensions with the cabinet opening instead of relying only on the appliance’s nominal size. Installation clearances can vary by model, so use the manufacturer’s specification sheet when confirming the final opening.
For sink areas, make sure plumbing can pass through the cabinet without unnecessary cutting or interference with drawers, shelves, or structural components. If you are still verifying appliance, plumbing, and wall measurements, review our how to measure your kitchen for cabinets guide before installation continues.
5. Locate Wall Studs and Structural Support
Before wall cabinets are lifted into position, identify and clearly mark the wall studs or other approved structural attachment points behind the cabinet run. The cabinet installation should be planned around secure structural fastening rather than relying only on drywall or other finish materials.
Before installation continues, verify:
- Stud locations are identified and marked
- The planned cabinet positions provide access to appropriate attachment points
- Wall construction is suitable for the selected fastening method
- The cabinet manufacturer’s installation requirements have been reviewed
- Any hanging rail, mounting bracket, or cabinet-back fastening system is installed according to the cabinet system
- Additional blocking or structural support is addressed where required
Do not assume that every wall cabinet uses the same mounting method. Some cabinet systems are fastened through the cabinet back into wall studs, while others may use suspension rails or mounting hardware designed for that specific cabinet construction. Follow the installation instructions for the exact cabinet system and wall type rather than applying one fastening method to every kitchen.
If you need the full installation process rather than an inspection checklist, see our how to hang a wall cabinet guide.
During Wall Cabinet Installation
1.Establish Level Reference Lines
Before wall cabinets are permanently installed, establish accurate horizontal reference lines across the installation area. These lines help keep multiple cabinets at a consistent height and prevent small positioning errors from becoming more noticeable across a long cabinet run.
Check that:
- The floor high point has been identified
- Cabinet reference heights are based on the final layout
- Horizontal lines have been checked with a level or laser
- Wall cabinet bottom heights are consistent across the run
- Reference lines account for any planned countertop, backsplash, or tall cabinet relationships
Do not rely on existing tile lines, trim, ceilings, or other finished surfaces as proof that the cabinet run is level. These elements may not be perfectly horizontal.
The purpose of the reference line is to create a reliable installation baseline. Once the first wall cabinet is positioned correctly, the remaining cabinets can be aligned against the same level reference rather than being positioned independently.

2. Verify the Wall Cabinet Installation Method
Before wall cabinets are permanently secured, confirm that the fastening method matches the cabinet construction, wall type, and manufacturer’s installation instructions. Different cabinet systems may use different mounting methods, so the installation should not be based on a single universal rule.
Verify that:
- The correct installation instructions are being followed for the cabinet system
- Fasteners are appropriate for the wall construction and cabinet design
- Cabinets are attached to approved structural support points
- Any mounting rail, bracket, or cabinet-back fastening system is installed correctly
- Fasteners do not damage cabinet components or interfere with shelves and hardware
- Adjacent cabinets can still be aligned and secured together as required
Avoid assuming that all wall cabinets should be installed with hanging brackets or that every cabinet should be fastened through the same location. The correct method depends on the cabinet construction and the mounting system provided or specified by the manufacturer.
At this stage, the goal is to confirm that the cabinets are supported correctly before moving on to alignment, leveling, and final fastening.
3. Check Wall Cabinets for Level, Plumb, and Secure Fastening
After each wall cabinet is positioned, check its alignment before installation continues. A cabinet can appear visually straight while still being slightly out of level or plumb, which may create larger alignment problems as additional cabinets are installed.
Verify that:
- Each cabinet is level from side to side
- Each cabinet is plumb from front to back
- The cabinet box is not twisted or distorted
- Cabinet faces remain in the correct plane with adjacent cabinets
- Shims or other adjustments are supporting the cabinet where needed
- Structural fasteners are secure at the approved attachment points
- The cabinet remains level and plumb after final fastening
Recheck the cabinet after it has been secured. Fastening a cabinet against an uneven wall can sometimes pull the cabinet box out of alignment, so the final position should be verified rather than assuming it remained unchanged.
Any noticeable movement, twisting, or alignment issue should be corrected before the next cabinet is permanently installed.
4. Check Alignment Between Adjacent Cabinets
As wall cabinets are installed next to one another, check that the cabinet faces, frames, and visible edges remain aligned before the cabinets are permanently secured together.
Verify that:
- Adjacent cabinet faces are flush with one another
- Top and bottom cabinet edges line up consistently
- Face-frame joints or cabinet-side seams are tight and even
- Cabinets do not step forward or backward along the run
- Door openings remain square and consistent
- Clamps or temporary supports are not pulling cabinets out of alignment
- Final fastening does not create visible gaps between neighboring cabinets
Small alignment errors can become more noticeable across a longer cabinet run. Correct any offset before additional cabinets are installed, rather than relying on door or hinge adjustments to hide a cabinet-box alignment problem later.
After the cabinets are secured together, recheck the full run from several angles to confirm that the visible cabinet faces form a straight, consistent line.
During Base Cabinet Installation
1.Check Base Cabinets for Level and Plumb
Before base cabinets are permanently secured, check that each cabinet is level, plumb, and positioned at the correct height. Small errors at the cabinet base can affect countertop installation, drawer operation, appliance openings, and the alignment of the entire cabinet run.
Verify that:
- Each base cabinet is level from side to side
- Each cabinet is plumb from front to back
- Cabinet tops remain at a consistent height
- The cabinet box is not twisted or distorted
- Shims are used where needed to compensate for uneven floors or walls
- Adjacent cabinets can be aligned without forcing the boxes out of square
- The final cabinet height still matches countertop and appliance requirements
Pay particular attention to the floor high point identified before installation. Base cabinets should be adjusted from a reliable level reference rather than simply following the floor surface, since floors are not always perfectly flat.
After fastening, recheck the cabinet with a level. Securing the cabinet against an uneven wall or floor can sometimes shift the box slightly, so the final installed position should always be verified.

2. Confirm Cabinet-to-Cabinet Alignment
As base cabinets are installed next to one another, check that the cabinet faces, top edges, and visible joints remain aligned before the cabinets are permanently secured together.
Verify that:
- Adjacent cabinet faces are flush
- Cabinet top edges form a consistent support line
- Face frames or cabinet-side seams are tight and even
- Cabinets do not step forward or backward along the run
- Door and drawer openings remain square
- Drawer fronts and doors will have room for final adjustment
- Fastening adjacent cabinets together does not pull either cabinet out of level or square
The top surfaces of the base cabinets should create a consistent plane for the countertop. If one cabinet sits higher, lower, farther forward, or farther back than the others, correct the cabinet position before countertop installation.
Do not use door or drawer adjustments to hide a cabinet-box alignment problem. The cabinet boxes should be correctly positioned first, with hardware adjustments reserved for final fine-tuning.
3. Verify Appliance Openings and Clearances
Before surrounding base cabinets are permanently secured, recheck all appliance openings against the actual appliance specifications. Do not rely only on nominal appliance widths, because installation clearances, door swing, ventilation space, trim kits, and utility connections can vary by model.
Verify that:
- Refrigerator opening width, height, and depth are correct
- Range or cooktop opening matches the appliance specifications
- Dishwasher opening provides the required width and height
- Wall oven or microwave cabinet dimensions match the appliance
- Appliance doors and drawers can open without hitting nearby cabinets, walls, or hardware
- Required ventilation and service clearances are maintained
- Plumbing, electrical, and gas connections remain accessible
- Finished panels, fillers, and countertop overhang will not reduce the required opening
Whenever possible, compare the installed cabinet opening with the manufacturer’s specification sheet for the exact appliance model before the cabinet run is finalized.
This check is especially important near refrigerators, dishwashers, ranges, and wall ovens, where even a small cabinet-positioning error can affect installation or everyday appliance operation.
4. Check Fillers, End Panels, and Corner Clearances
Before the cabinet run is finalized, confirm that fillers, finished end panels, and corner clearances have been installed or planned correctly. These components affect both the finished appearance of the kitchen and the ability of cabinet doors, drawers, and appliances to operate without interference.
Verify that:
- Required fillers are installed between cabinets and adjacent walls
- Corner cabinets have enough clearance for doors and drawers to open
- Finished end panels are positioned on exposed cabinet sides where required
- Fillers are wide enough to prevent handles or doors from hitting nearby walls
- Appliance panels and fillers do not reduce required appliance openings
- Cabinet faces remain aligned after fillers and panels are added
- Visible filler widths are consistent with the final cabinet layout
- Trim and panels do not interfere with toe kicks, flooring, or countertop installation
Pay particular attention to cabinets installed next to walls and inside corners. A cabinet may physically fit into the available space but still need additional clearance so doors, drawers, and hardware can operate properly.
If you need help determining where fillers are required and how much clearance to allow, see our kitchen cabinet filler guide.
5. Inspect Plumbing and Utility Cutouts
Inspect all openings made for plumbing, electrical wiring, gas lines, ventilation, or other utilities before the cabinet installation is finalized. Cutouts should be accurately positioned and only as large as necessary for the required connection.
Verify that:
- Sink-base plumbing openings align with the actual drain and water-supply locations
- Dishwasher connections can pass through the required cabinet openings
- Electrical and gas connections remain accessible where required
- Cutouts are not unnecessarily oversized
- Cabinet backs, shelves, or panels have not been cut more than necessary
- Important cabinet joints or structural areas have not been damaged
- Rough or exposed cut edges are properly finished or protected where needed
- Pipes, wires, and hoses will not interfere with drawers, shelves, doors, or hardware
Pay particular attention to sink base cabinets, dishwasher-adjacent cabinets, and appliance cabinets. A poorly positioned opening can interfere with cabinet components or force plumbing and electrical connections into awkward locations.
If an opening needs to pass through a structural part of the cabinet or requires a significant modification to the cabinet box, check the cabinet manufacturer’s installation requirements before making the cut.
Final Kitchen Cabinet Installation Inspection
1. Check Doors and Drawers
After the cabinet boxes are installed and aligned, open and close every door and drawer to confirm that they operate smoothly and do not interfere with nearby cabinets, walls, appliances, or hardware.
Verify that:
- Every cabinet door opens and closes smoothly
- Drawers extend and close without binding
- Doors do not rub against adjacent doors, fillers, or panels
- Drawer fronts do not contact neighboring cabinets
- Soft-close hinges and drawer slides operate correctly where included
- Doors and drawers remain stable when fully opened
- Cabinet contents or shelves do not interfere with hardware movement
- Appliance doors can open without hitting cabinet doors or drawer pulls
If a door or drawer does not operate correctly, first confirm that the cabinet box itself is level, square, and properly aligned. Hardware adjustments should not be used to compensate for a cabinet box that is incorrectly installed.
2. Check Door Gaps and Hinge Adjustment
Once all cabinet doors are installed, inspect the spacing between adjacent doors and drawer fronts. Gaps should appear visually consistent across the cabinet run, especially where multiple doors are viewed side by side.
Check that:
- Door gaps are visually even
- Adjacent doors sit at a consistent height
- Door faces are aligned in the same plane
- Doors do not appear tilted or twisted
- Hinges are securely attached
- Hinges have been adjusted only after cabinet-box alignment is confirmed
- Doors open without contacting fillers, walls, or neighboring hardware
Many cabinet hinges allow small side-to-side, height, or depth adjustments. Use these adjustments for final fine-tuning after the cabinets themselves have been correctly installed and aligned.
If a door remains noticeably uneven after normal hinge adjustment, recheck the cabinet box, mounting position, and surrounding cabinet alignment before assuming the hinge is the only problem.
3. Inspect Handles and Cabinet Hardware
After doors and drawers are aligned, inspect the visible hardware and confirm that handles, knobs, hinges, drawer slides, and other components are secure and positioned consistently.
For detailed handle placement, measuring, and drilling instructions, see our cabinet handle installation guide.
Verify that:
- Handles and knobs are installed straight and at consistent heights
- Fasteners are tight without damaging the door or drawer front
- Pulls and knobs do not interfere with adjacent doors, walls, or appliances
- Hinges are secure and properly adjusted
- Drawer slides operate smoothly and remain firmly attached
- Soft-close hardware functions correctly where included
- Decorative hardware is consistent across the cabinet run
- No visible hardware is loose, crooked, or missing
If handles or pulls were installed on site, inspect the drilling locations carefully. Misaligned hardware is highly visible once the full cabinet run is complete and should be corrected before final approval.
4. Check Toe Kicks, Fillers, and Finished Panels
Once the cabinet boxes, doors, drawers, and hardware are complete, inspect all visible finishing components near the floor, walls, and exposed cabinet sides.
Verify that:
- Toe-kick panels are secure and aligned across the cabinet run
- Fillers fit cleanly between cabinets and adjacent walls
- Finished end panels are flush and properly positioned
- Seams and joints appear neat from normal viewing angles
- Panels do not interfere with doors, drawers, or appliances
- Toe kicks follow the planned cabinet base design
- Visible edges and cut areas are properly finished
- Trim pieces remain secure and consistent with the cabinet layout
These finishing components should make the cabinet installation look intentional and complete. Uneven fillers, loose toe-kick panels, or poorly aligned end panels can make an otherwise well-installed cabinet run appear unfinished.
For more detail on these finishing components, see our kitchen cabinet filler guide and toe kick guide.
5. Inspect Cabinet Surfaces for Damage
Before the installation is approved, inspect all visible cabinet surfaces under normal room lighting. Damage that occurred during installation should be identified before the project moves on to countertops, appliances, backsplash work, or final cleanup.
Verify that:
- Cabinet doors and drawer fronts are free of new scratches, chips, or dents
- Cabinet sides and exposed panels are undamaged
- Finished edges and corners remain intact
- No fasteners have damaged visible cabinet surfaces
- Drilling or cutting has not created unnecessary chips or splintering
- Protective films or packaging have been removed where appropriate
- Cabinet finishes appear consistent across matching components
- Any installation-related damage has been documented before final approval
Inspect both the front-facing surfaces and less obvious areas near fillers, appliance openings, sink bases, and exposed cabinet ends. Minor damage is easier to address before the kitchen is fully completed.
6. Complete the Final Cabinet Installation Checklist
Before considering the cabinet installation complete, perform one final walk-through of the entire kitchen rather than inspecting individual cabinets in isolation.
Confirm that:
- All cabinets are installed in the correct locations
- Wall and base cabinet runs appear level and aligned
- Cabinets are securely installed
- Doors and drawers open and close correctly
- Door and drawer gaps are visually consistent
- Appliance openings and clearances remain correct
- Plumbing and utility access is unobstructed
- Fillers, toe kicks, and finished panels are complete
- Hardware is secure and consistently positioned
- Cabinet surfaces are free of unresolved damage
- Countertop support surfaces are ready for the next stage of installation
- Any remaining adjustments or repairs have been documented
Do not treat the final inspection as a cosmetic review only. This is the last opportunity to catch alignment, clearance, hardware, or finishing issues before later stages of the kitchen project make corrections more difficult.

For additional issues to watch for during the project, review our common cabinet installation mistakes guide.
FAQ About Kitchen Cabinet Installation
What should I check before kitchen cabinet installation?
Confirm the cabinet layout, room dimensions, appliance openings, plumbing and electrical locations, wall and floor conditions, and that all cabinet parts are present and undamaged before installation begins.
How do I know if kitchen cabinets are installed correctly?
The cabinets should be level, plumb, securely fastened, and aligned with adjacent cabinets. Doors and drawers should operate smoothly, appliance clearances should remain correct, and fillers, toe kicks, panels, and hardware should be properly finished.
Should cabinets be inspected before countertops are installed?
Yes. Cabinet alignment, height, fastening, appliance openings, and countertop support surfaces should be checked before countertop installation because corrections can become more difficult afterward.
What is the most important part of a cabinet installation inspection?
The most important step is verifying the cabinet boxes themselves before focusing on doors and hardware. If the boxes are not level, square, and properly aligned, later hinge or drawer adjustments will not fully correct the underlying installation problem.
Final Thoughts
A successful kitchen cabinet installation depends on more than how the finished cabinets look. Before final approval, confirm that the cabinet boxes are level, plumb, securely installed, properly aligned, and coordinated with appliances, utilities, fillers, toe kicks, and finished panels.
Using a kitchen cabinet installation checklist makes it easier to catch problems before countertops, appliances, and other finishing work are completed. If you need step-by-step installation instructions rather than an inspection checklist, see our cabinet installation guide.


About author

Related posts

Kitchen cabinet quotes can look similar at first but include very different products and services. One quote may include plywood cabinet boxes, finished end panels,... Continue reading

A knee drawer is a specialized vanity cabinet component designed to add storage while creating comfortable open space underneath a bathroom countertop. Knee drawers are... Continue reading

A 33-inch farmhouse sink is a common choice for a 36-inch base cabinet, but it is not a universal rule. The correct fit depends on... Continue reading

A kitchen cabinet filler is a narrow finished strip used to close or manage the space between a cabinet and a wall, appliance, corner, or... Continue reading

Choosing RTA cabinets involves more than comparing door styles or headline prices. You need to evaluate cabinet-box construction, door materials, available sizes, hardware, shipping, assembly,... Continue reading





Add comment